8 brick cake ideas. All doable at home.
From a 10-minute cake to a full showstopper, with how each one is made.
- Ideas 8
- Easiest 10 min
- Skill all levels
- Bricks edible
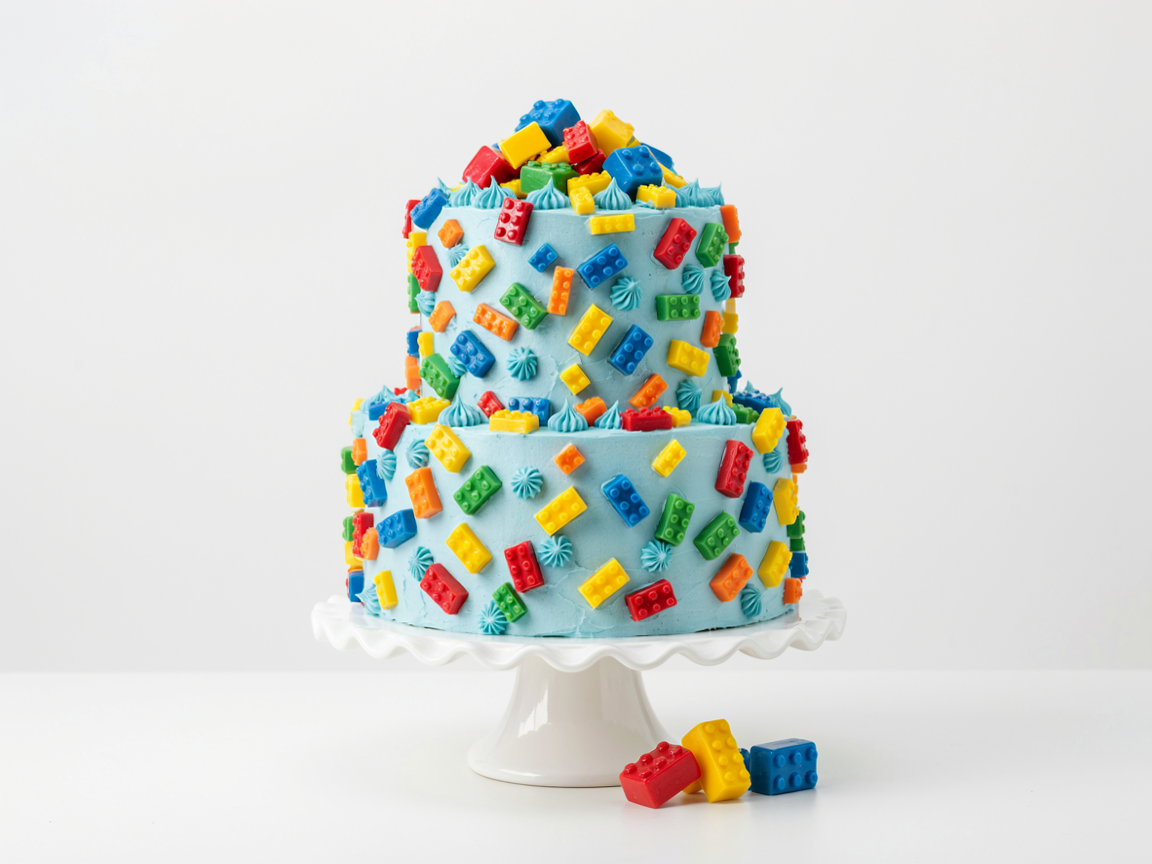
Lego cakes for boys look impressive, but most of them rely on one simple trick: edible bricks made in a silicone mold. Make the bricks ahead and the cake itself can be very plain.
Pick an idea by how much time you have.
These work for any brick fan, whatever their age. The colors do most of the work.
The lookWhat makes a brick cake pop
Bright primary colors
Red, yellow, blue and green read as bricks straight away.
Edible bricks
Molded from fondant or chocolate, so everything on the cake can be eaten.
Simple shapes
A plain round or sheet cake is the best background.
Made ahead
Bricks keep for days, so party day is just assembly.
The gallery8 Lego cake ideas, easiest to showstopper
Each one says how hard it is, how long it takes and how it is made.
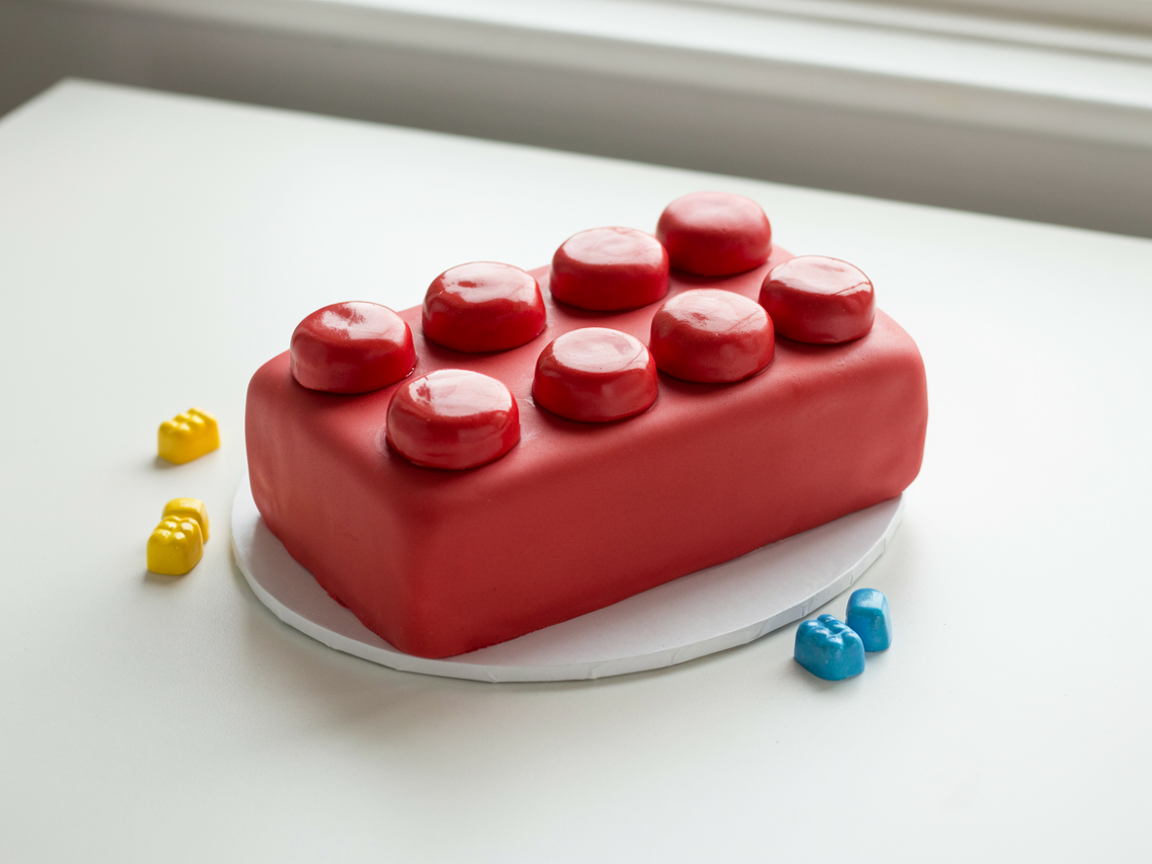
1. The Giant Single Brick
- Medium
- About 1 hour
- Serves 12
- Bake a 9×13 cake and trim the edges square.
- Cover it in red buttercream or red fondant.
- Make 8 studs from sandwich cookies or cake offcuts, covered to match.
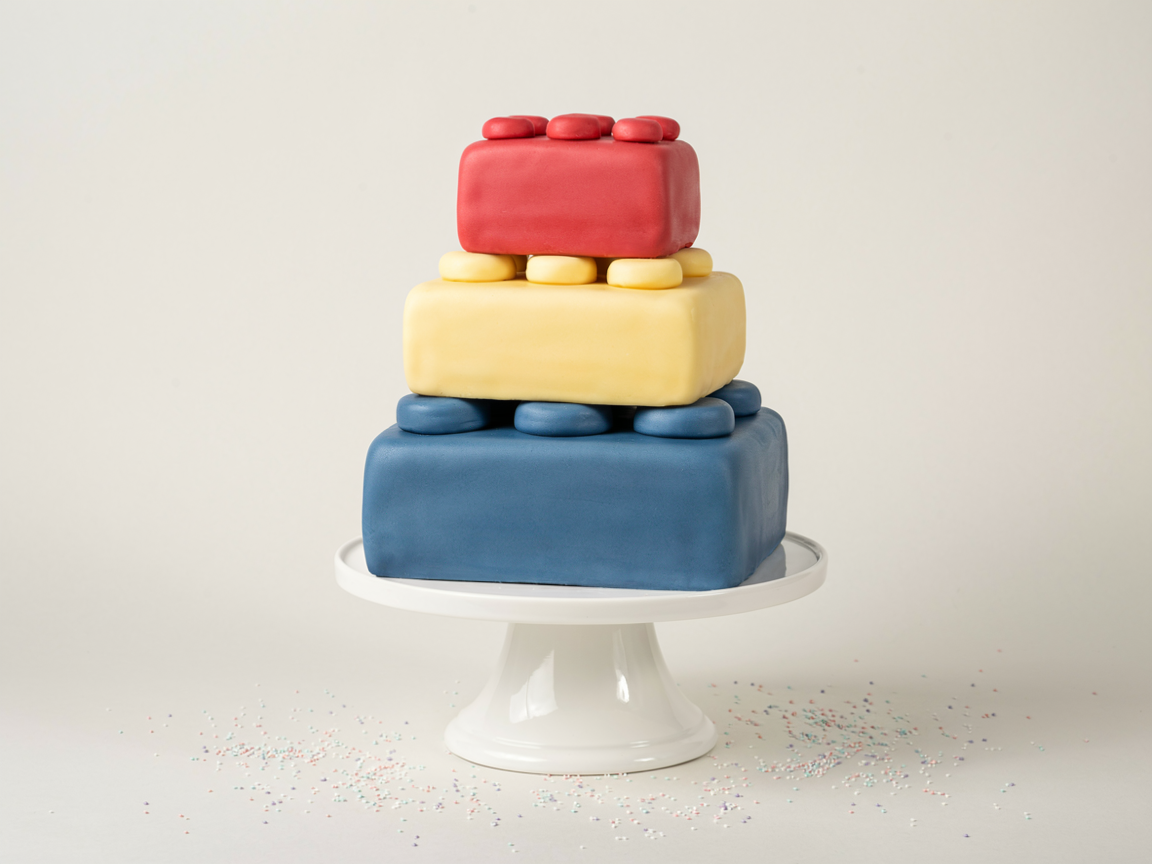
2. The Stacked Brick Tower
- Advanced
- About 2 hours
- Serves 20+
- Bake three rectangular cakes in different sizes.
- Cover each in one bright color and add studs.
- Push cake dowels or wide straws into the lower tiers before stacking.
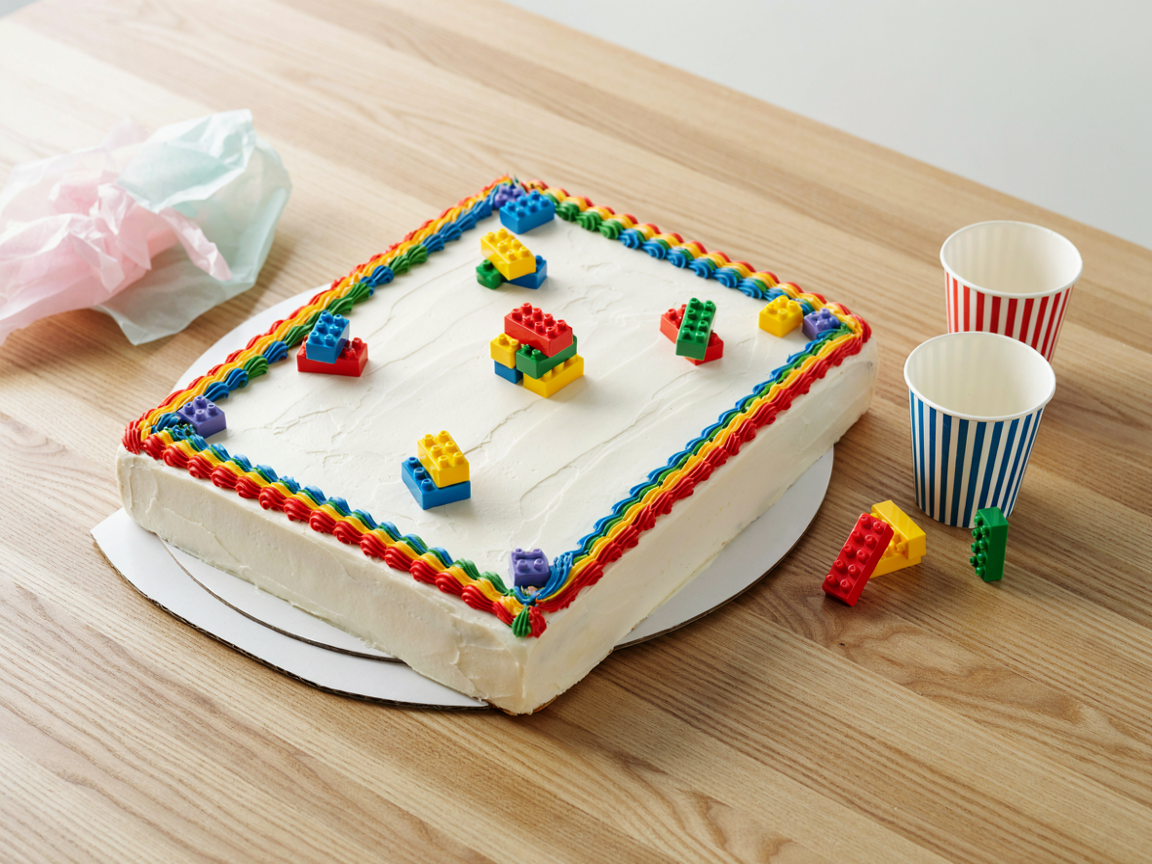
3. The Simple Sheet Cake
- Easy
- 20 minutes
- Serves 15
- Start with any frosted sheet cake, homemade or store-bought.
- Pipe a rainbow border around the edge.
- Scatter candy bricks on top in small stacks.
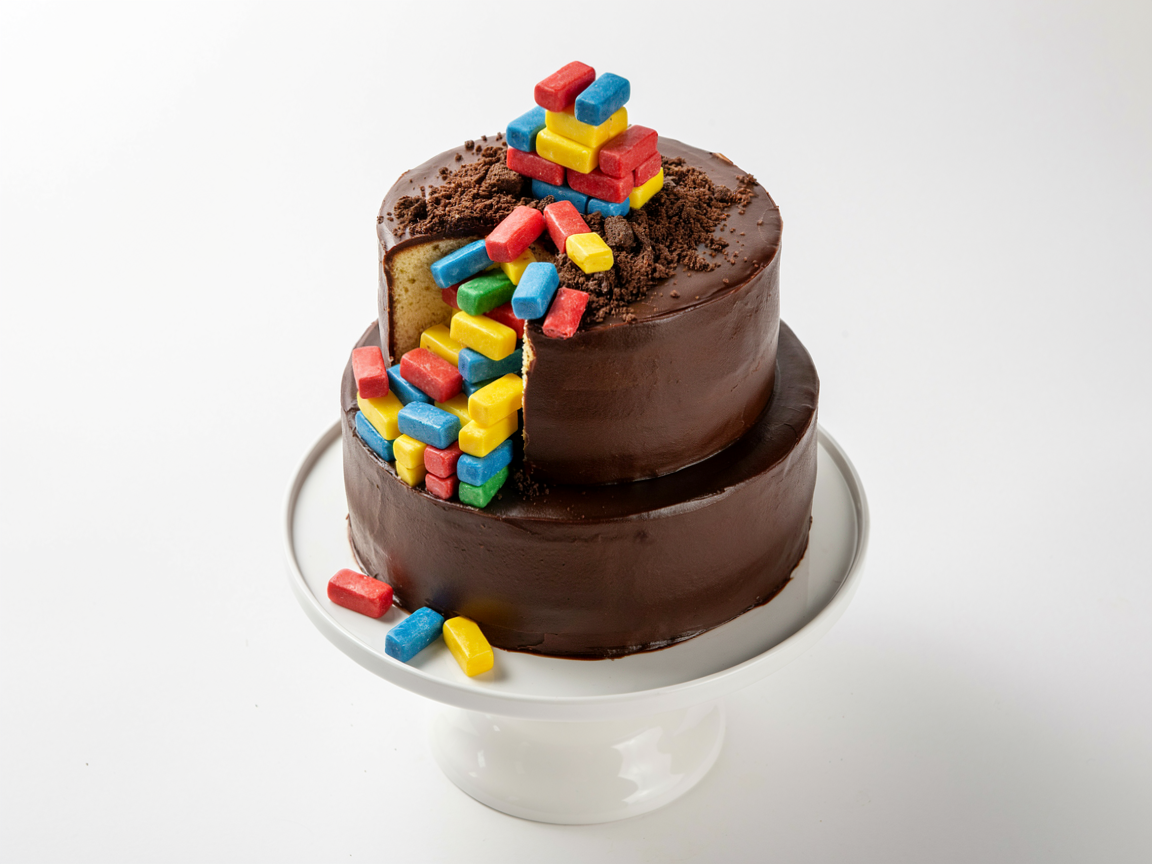
4. The Under-Construction Cake
- Easy
- 30 minutes
- Serves 10
- Frost a round cake in chocolate and leave one patch unfinished.
- Stack bricks up that side like a wall being built.
- Sprinkle crushed chocolate cookies on top as dirt.

5. Brick Cupcakes
- Easy
- 30 minutes
- Makes 12
- Divide vanilla buttercream into four bowls.
- Tint them red, yellow, blue and green with gel coloring.
- Pipe tall swirls and press 2 or 3 bricks into each.
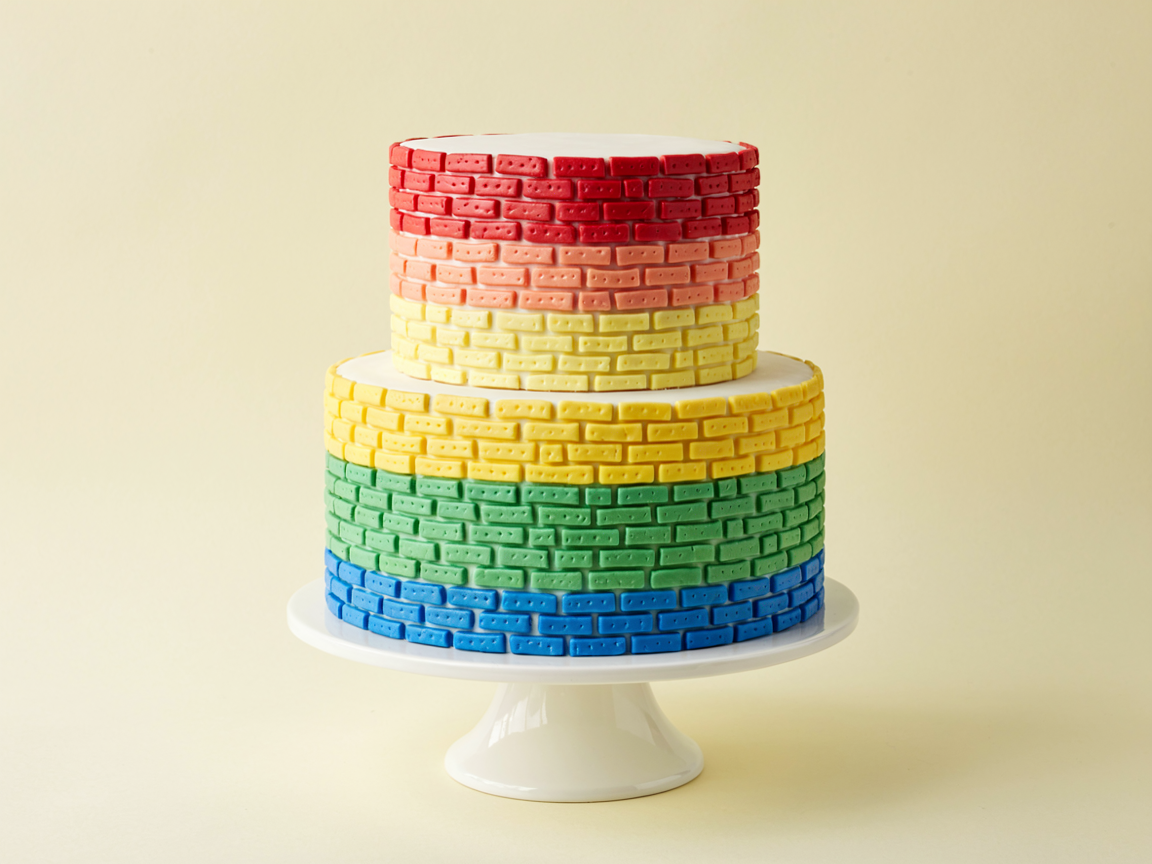
6. The Rainbow Brick Wall
- Advanced
- 2 to 3 hours
- Serves 20+
- Mold a large batch of small bricks in six colors, a few days ahead.
- Frost the cake smoothly in white.
- Press the bricks on in rows, starting at the base and working up.
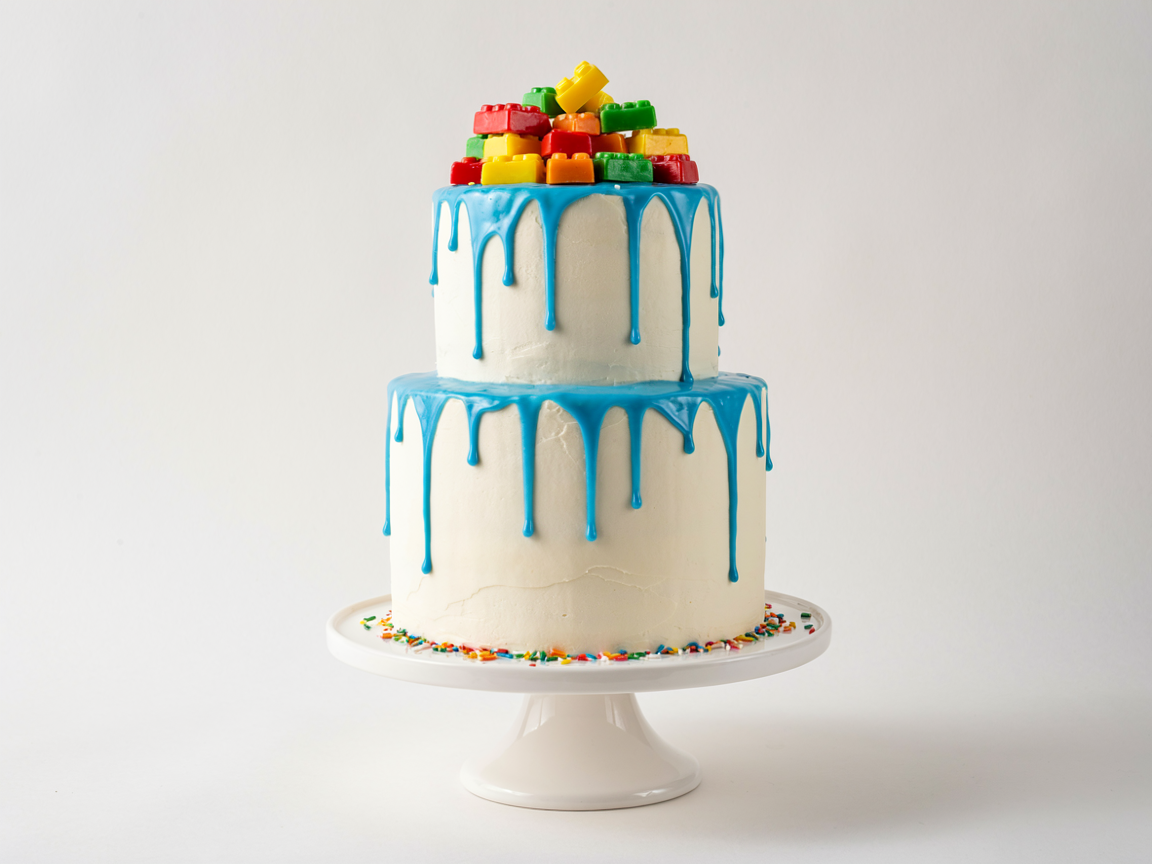
7. The Drip Cake
- Medium
- 45 minutes
- Serves 12
- Chill a white frosted cake until firm.
- Melt blue candy melts with a little cream and spoon it over the edge so it drips.
- Pile bricks on top once the drip has set.
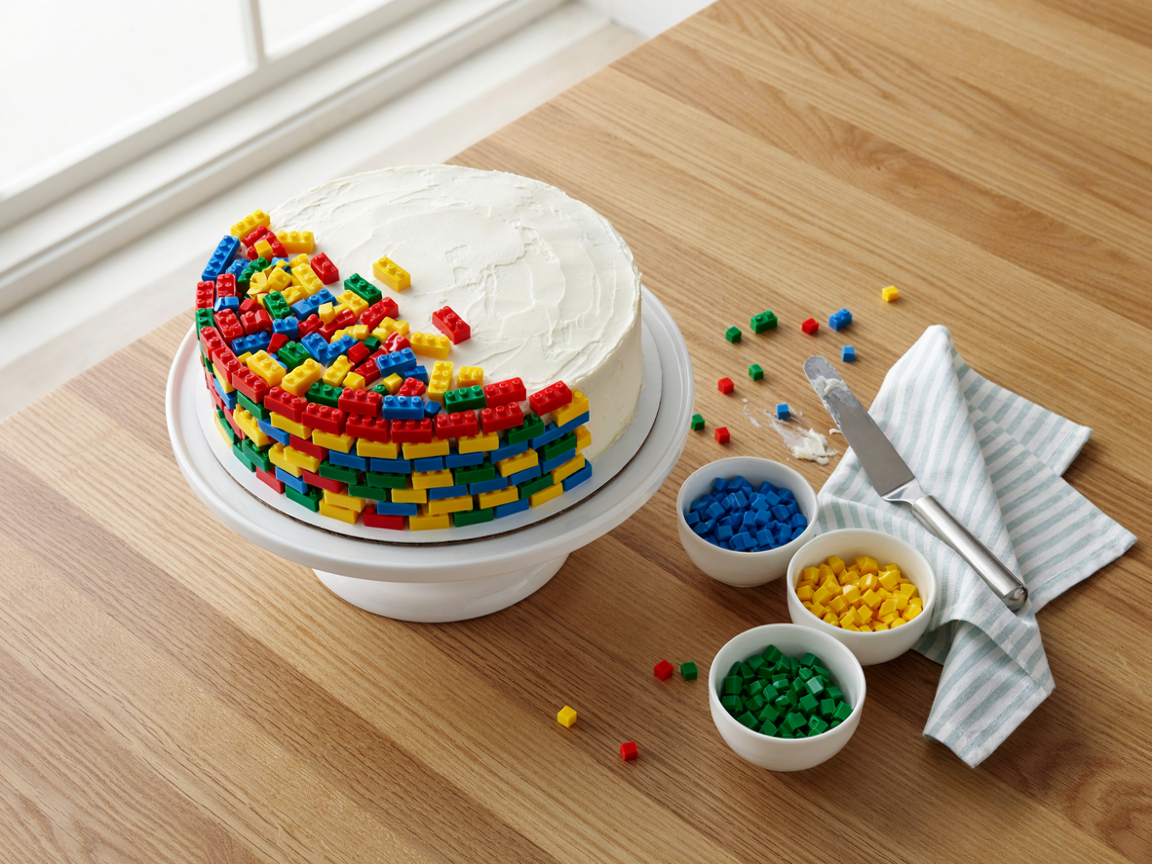
8. The Decorate-It-Yourself Cake
- Easiest
- 10 minutes
- Party activity
- Frost a cake in plain white.
- Set out bowls of candy bricks, sorted by color.
- Let the kids build the design themselves.
The basicsWhat every design needs
- A cakeAny flavor, homemade or store-bought. An 8-inch round or a sheet cake.
- ButtercreamAbout 4 cups covers and fills an 8-inch layer cake.
- Edible bricksPlan on 40 to 60 for a fully decorated cake, 10 to 15 for a topper.
- Gel food coloringGel, not liquid. Liquid coloring thins the frosting.
- Fondant or candy meltsIn red, yellow, blue and green.
Handy helpersTools worth having
The brick mold is the one that matters. The rest make decorating smoother.
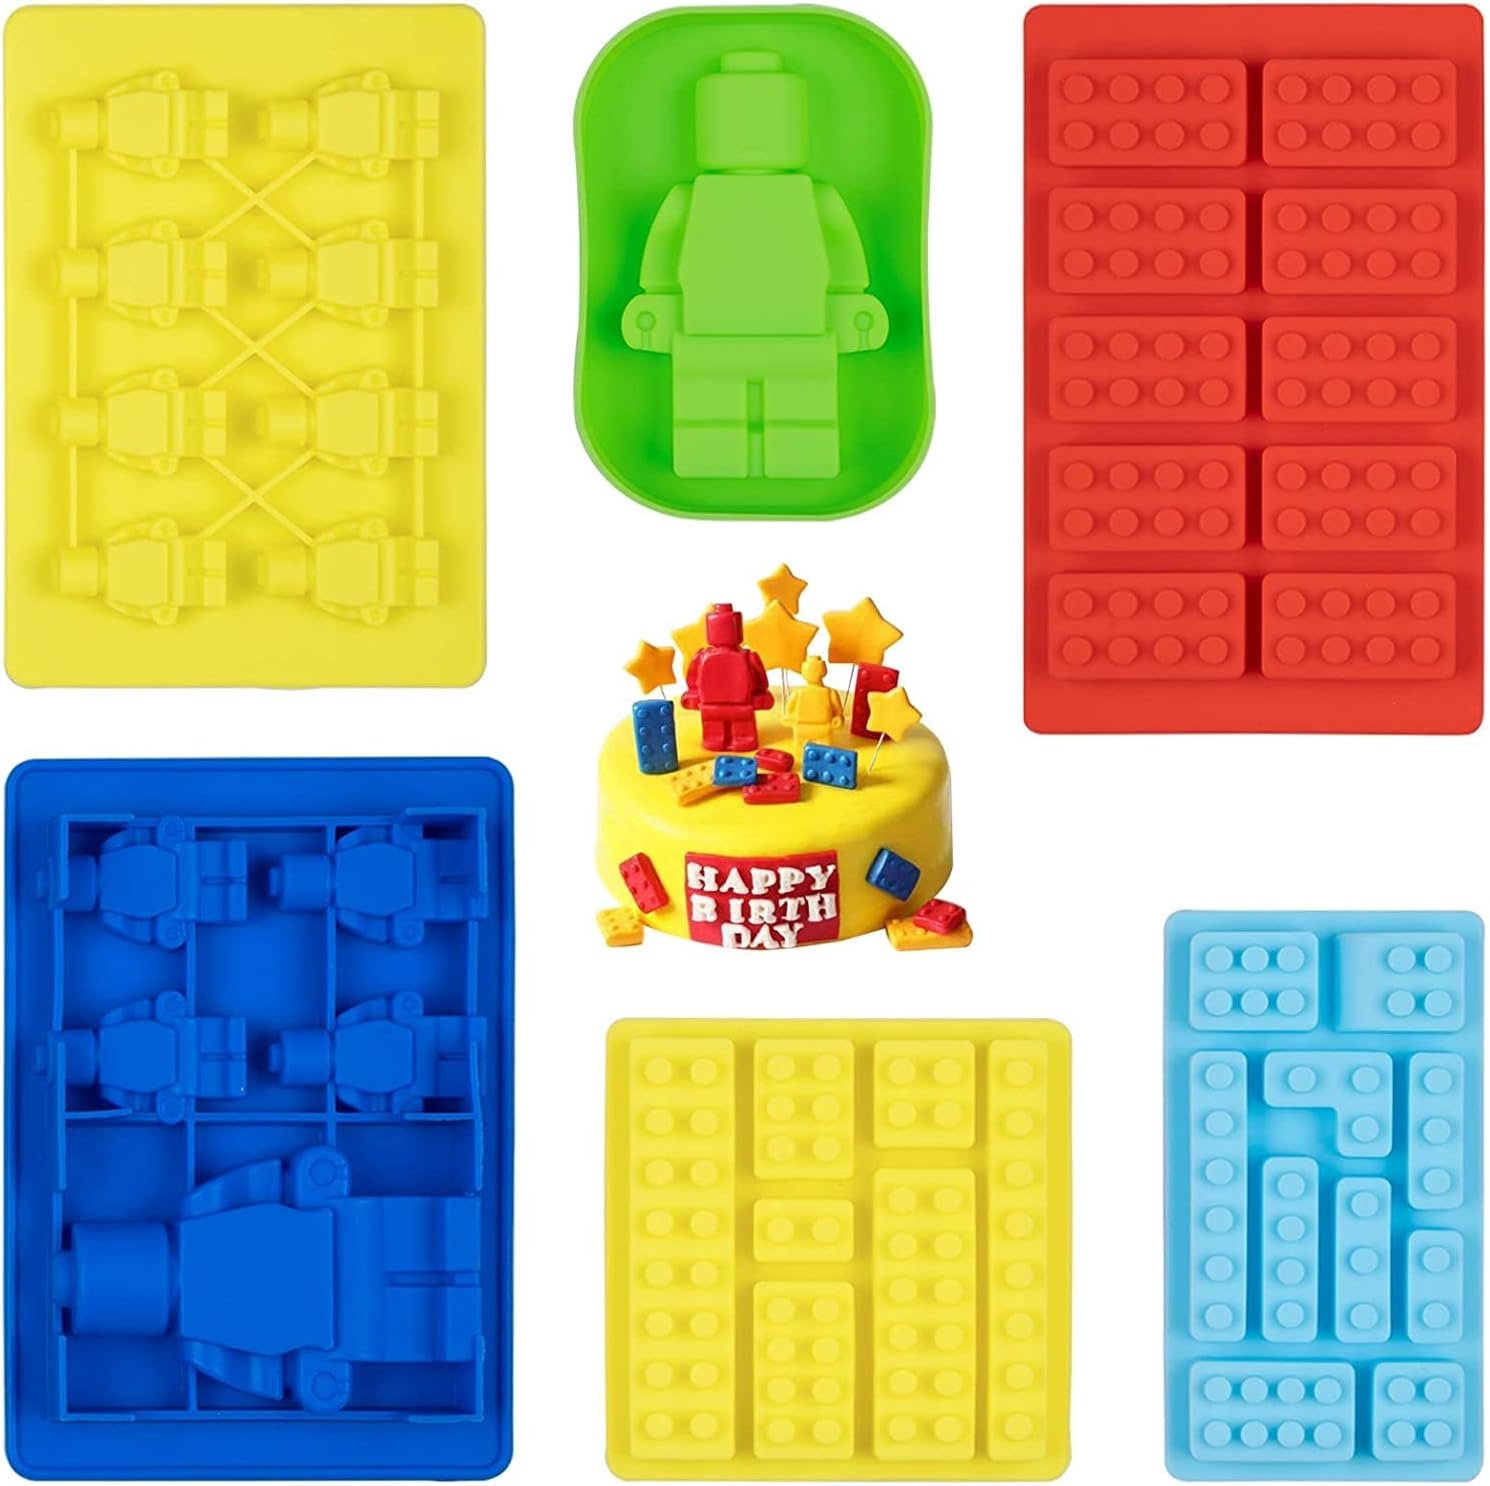
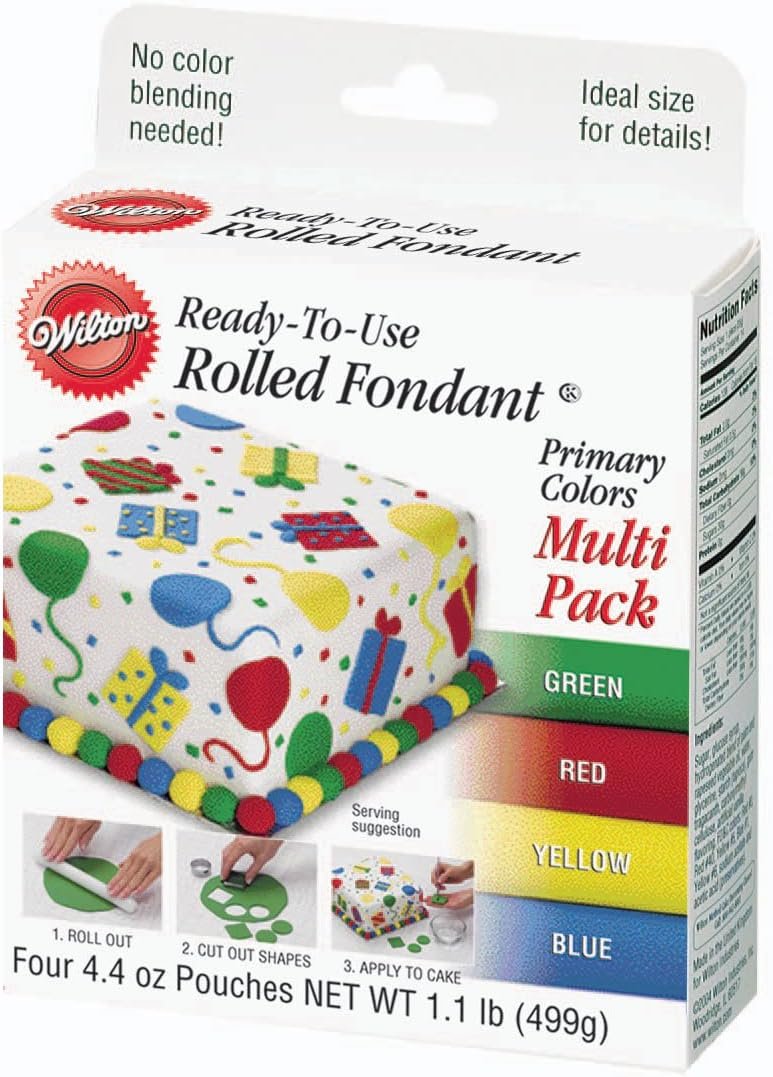
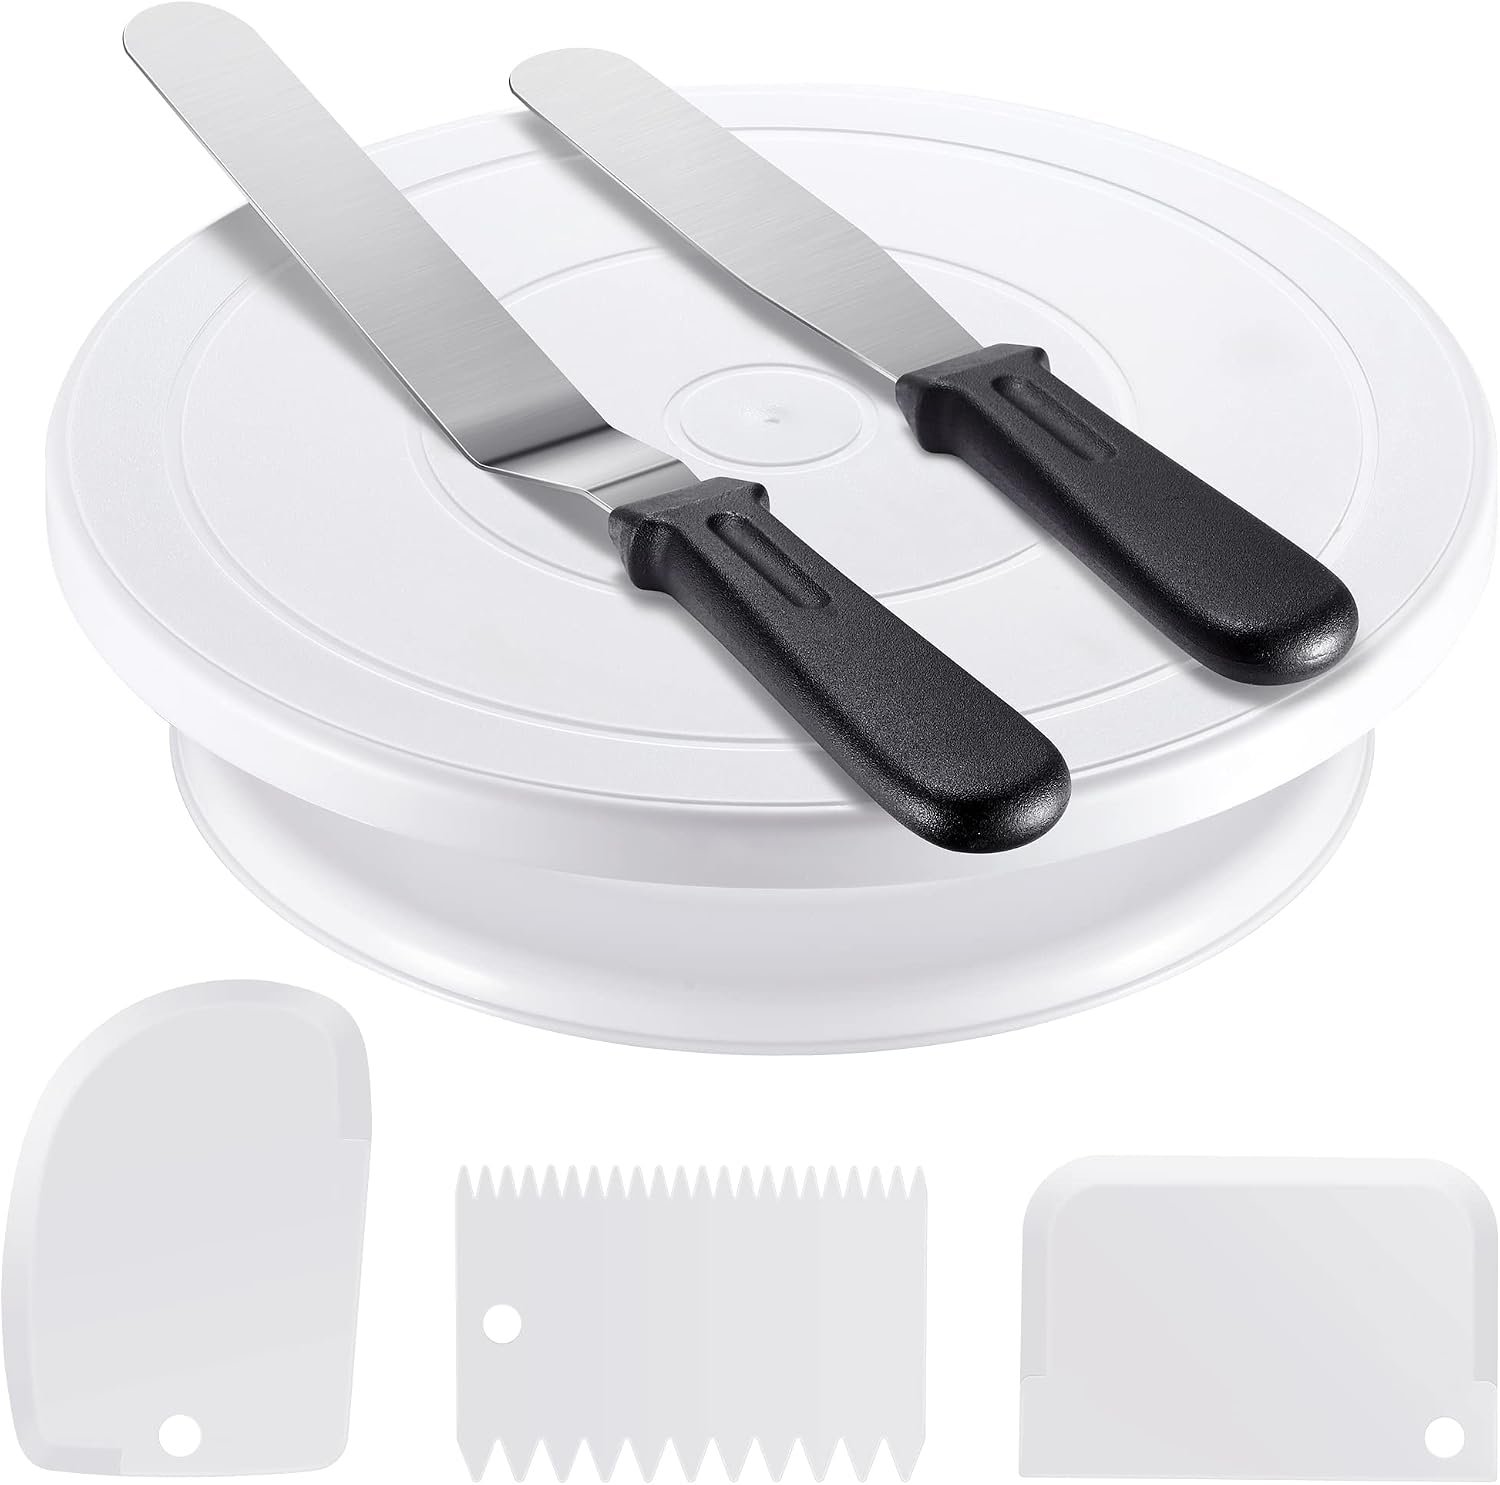
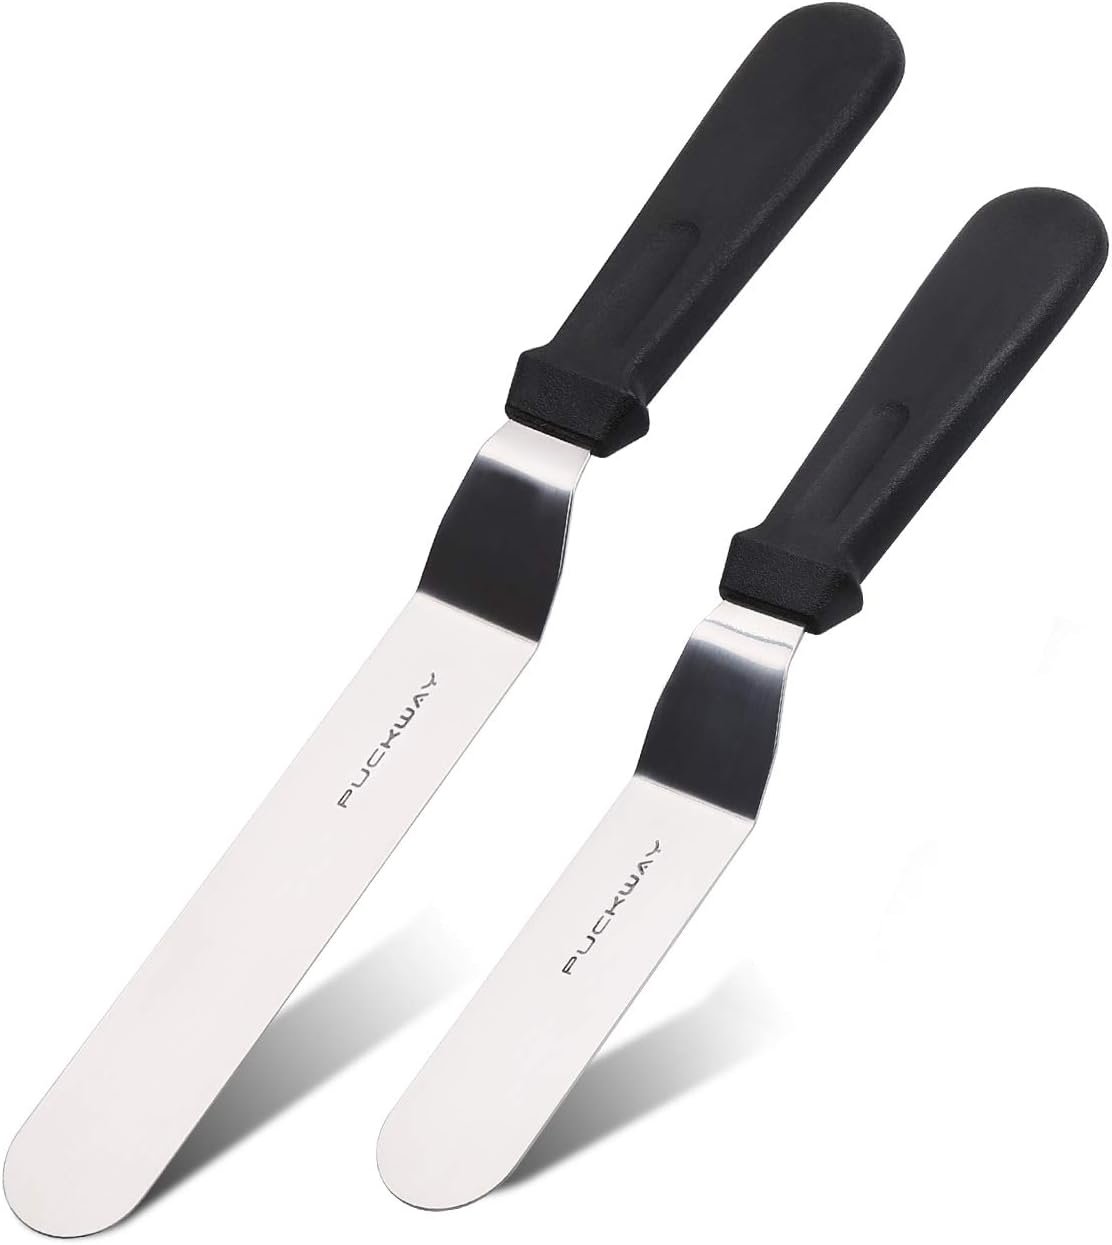
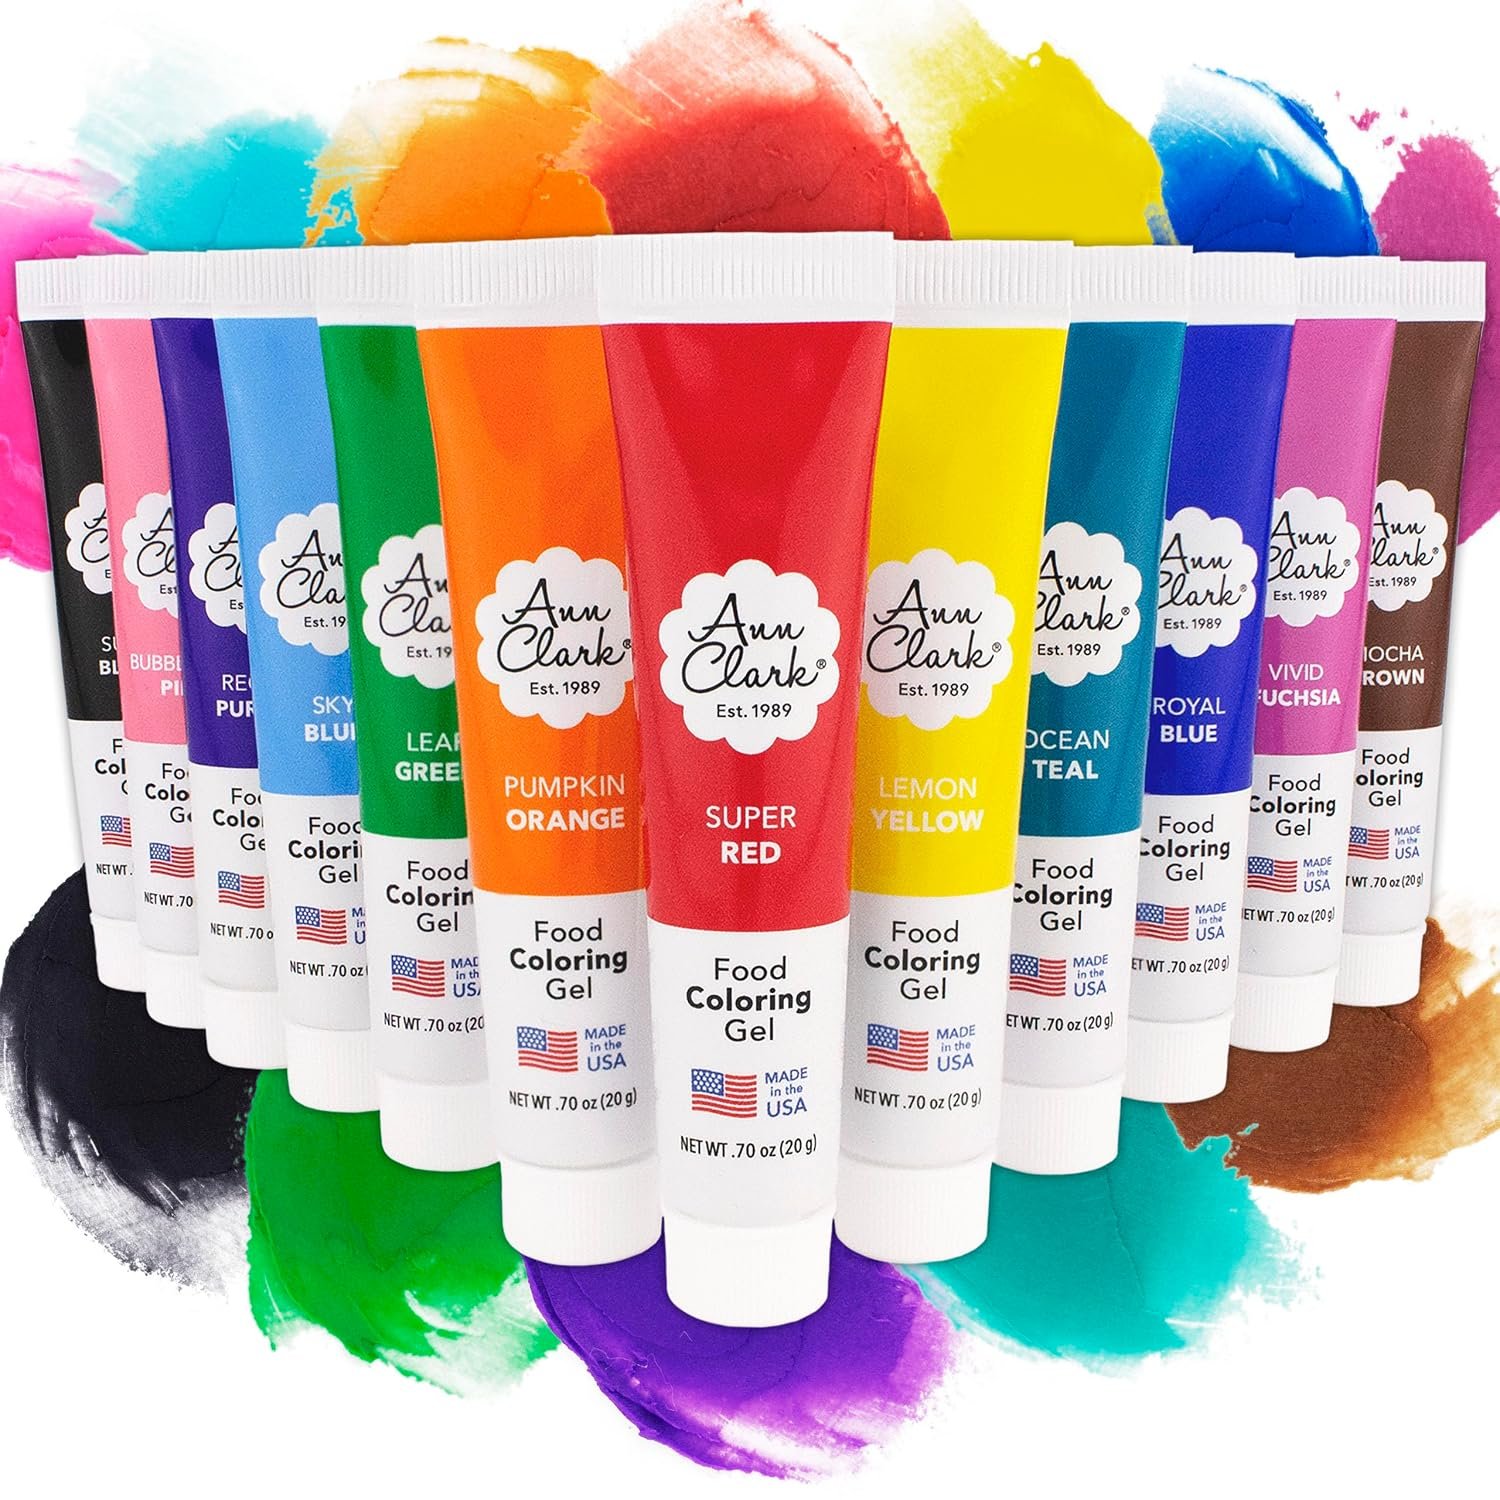
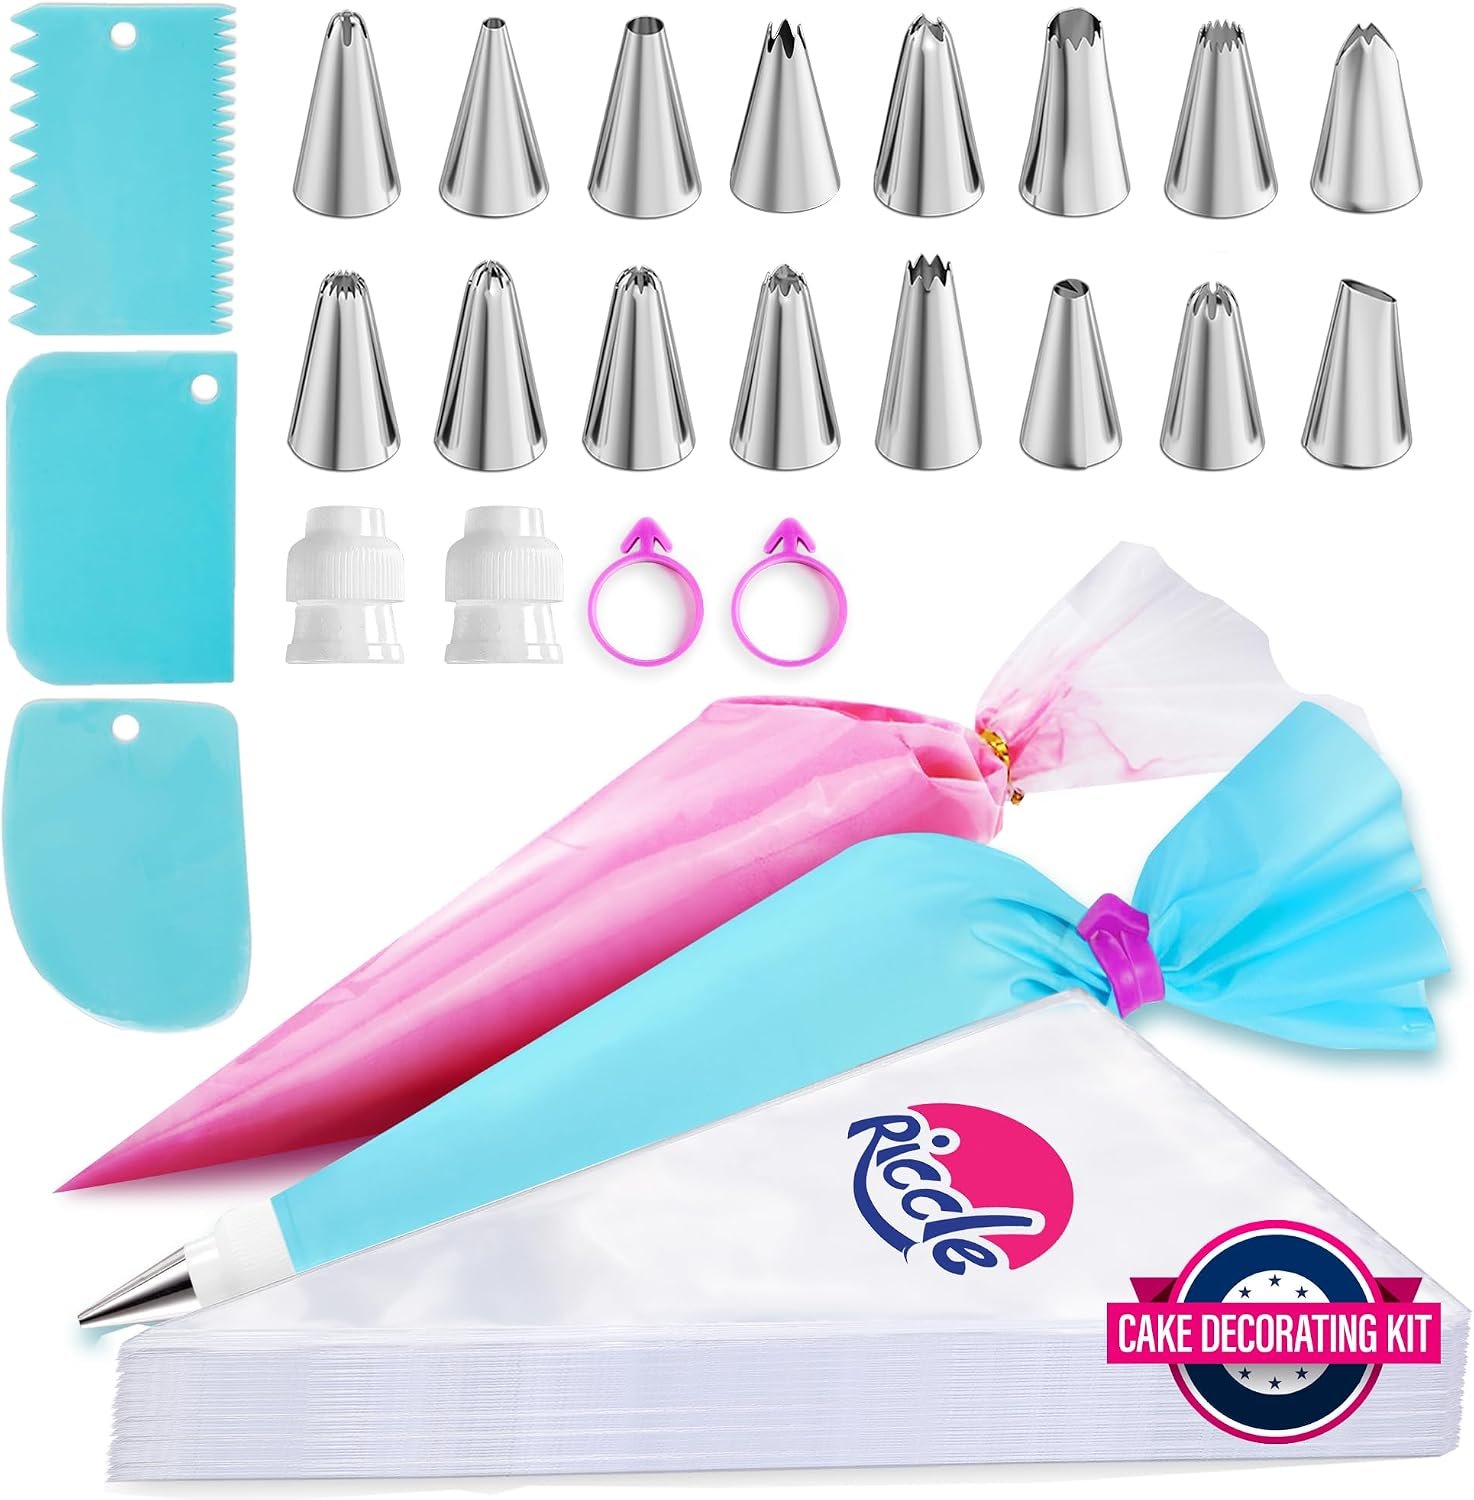
Easy Dessert Guide earns a small commission from qualifying Amazon purchases made through these links, at no extra cost to you.
How to Make Edible Building Bricks
Two methods. Both can be made days ahead.
- Active time 15 min
- Chill 5 to 15 min
- Makes about 30 per batch
- Keeps 1 to 2 weeks
Fondant bricks
- Dust. Brush a little cornstarch into each cavity of the silicone mold.
- Press. Knead the fondant until soft, then press it firmly into the mold.
- Level. Roll over the back with a rolling pin and trim off the extra.
- Freeze. Freeze for 5 minutes so the bricks firm up.
- Release and dry. Flex the mold to pop them out. Leave them to dry for 1 hour before using.
Chocolate bricks
- Melt gently. Melt the candy melts in a bowl set over a pan of barely simmering water, stirring until smooth. Stir in the oil.
- Fill. Spoon into the mold and tap it on the counter to release air bubbles.
- Chill. Freeze for 10 to 15 minutes, until solid.
- Release. Flex the mold and pop the bricks out.
Tools used
Brick silicone molds • Primary color fondant • Cake turntable • Offset spatula • Gel food coloring • Piping bags and tips
Shop these tools: easydessertguide.com/lego-cakes-for-boys/#tools
easydessertguide.com
Decorating rescueSmall fixes for big moments
Plan aheadA calm party timeline
For laterSave these ideas
Pin them to your birthday cake board.
Good to knowYour questions, answered
How do you make edible Lego bricks for a cake?
Press fondant or pour melted candy melts into a brick-shaped silicone mold. Freeze for 5 to 15 minutes and pop them out. The full steps are in the guide above.How far ahead can the bricks be made?
Fondant bricks keep about 1 week and chocolate bricks about 2 weeks. Store them airtight at cool room temperature, not in the fridge.Can real toy bricks be put on a cake?
It is better to use edible ones. Real bricks are a choking risk for young children and are not made for food. If you do use them, wash them first and take them off before serving.How do you get bright red buttercream?
Use gel food coloring, add more than you think you need, then let it rest for 1 to 2 hours. Red always darkens as it sits.Which Lego cake is easiest for a beginner?
The decorate-it-yourself cake or the simple sheet cake. Both start with a plain frosted cake and need no special skills.Can a store-bought cake be used?
Yes. A plain frosted cake from the store is a good base. Add your own bricks and a piped border and nobody will know.Are these official LEGO cakes?
No. These are homemade cake ideas inspired by toy building bricks. Easy Dessert Guide is not affiliated with or endorsed by the LEGO Group.Keep goingMore cakes to celebrate with
Posts readers look at next.